Add translations
If you are using the My Website solution by Rentals United, you get access to a translation application - Weglot. This app, once integrated to Wordpress, automatically translates your website and any new content you create to as many languages as you need. This way you can go multilingual and address audiences of any nationality. With automated translations - it all comes with minimum effort and time.
Weglot supports hundreds of different languages and provides high-quality translations. The content is translated directly in the Weglot app and this is where your translations are kept. The great thing about Weglot is that you can use the automated-translation for majority of your content, but at the same time provide custom-made translations for individual words of phrases.
If you register to Weglot, you can try out a trial version for free. Then, you can choose the subscription plan based on your requirements. You can preview their subscriptions here.
Enable Weglot
-
Go to Wordpress Admin and open the management menu.
-
Select Weglot.
-
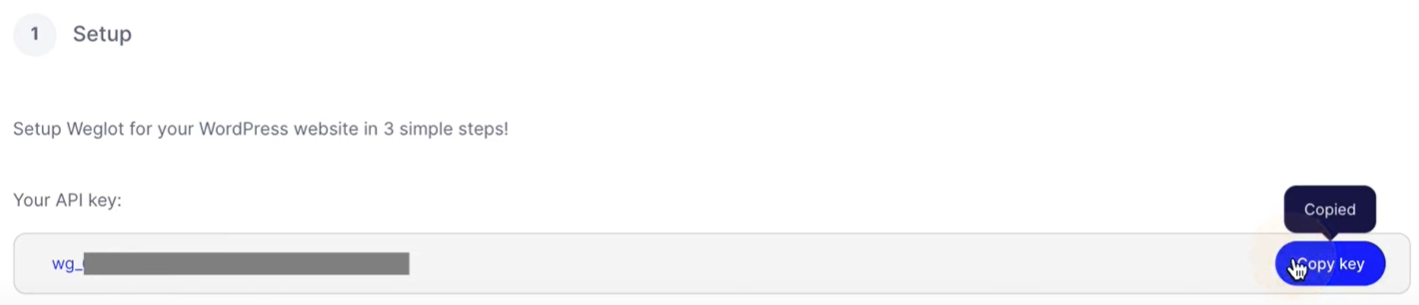
You are required to provide an API key. Click on the highlighted Weglot link or click here and register you account. The registration is free and you get access to a trail version of Weglot. After you complete the registration, you will be granted an API key. Copy it.
-
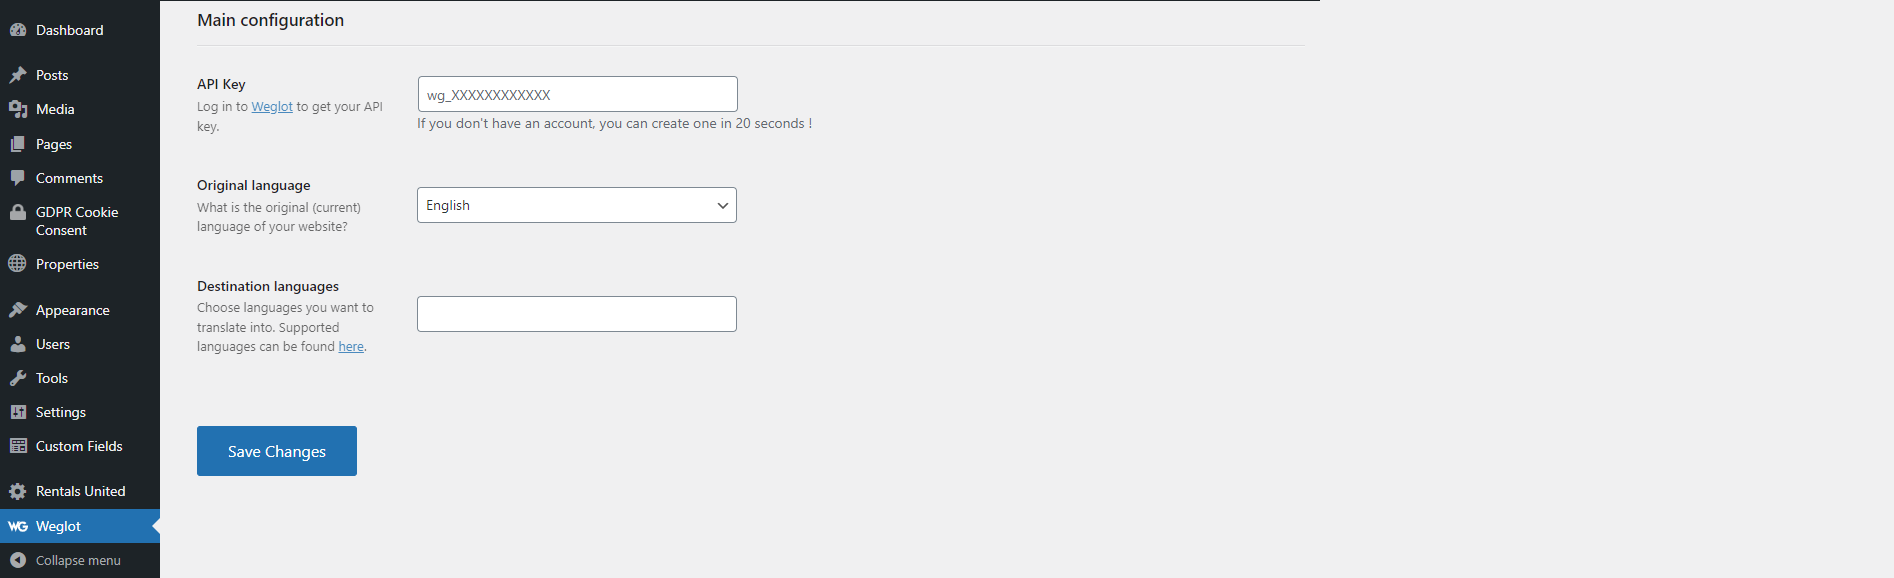
Get back to Wordpress Admin and paste the API key. Choose your original language and languages you will translate the content to.
-
Click Save changes.
-
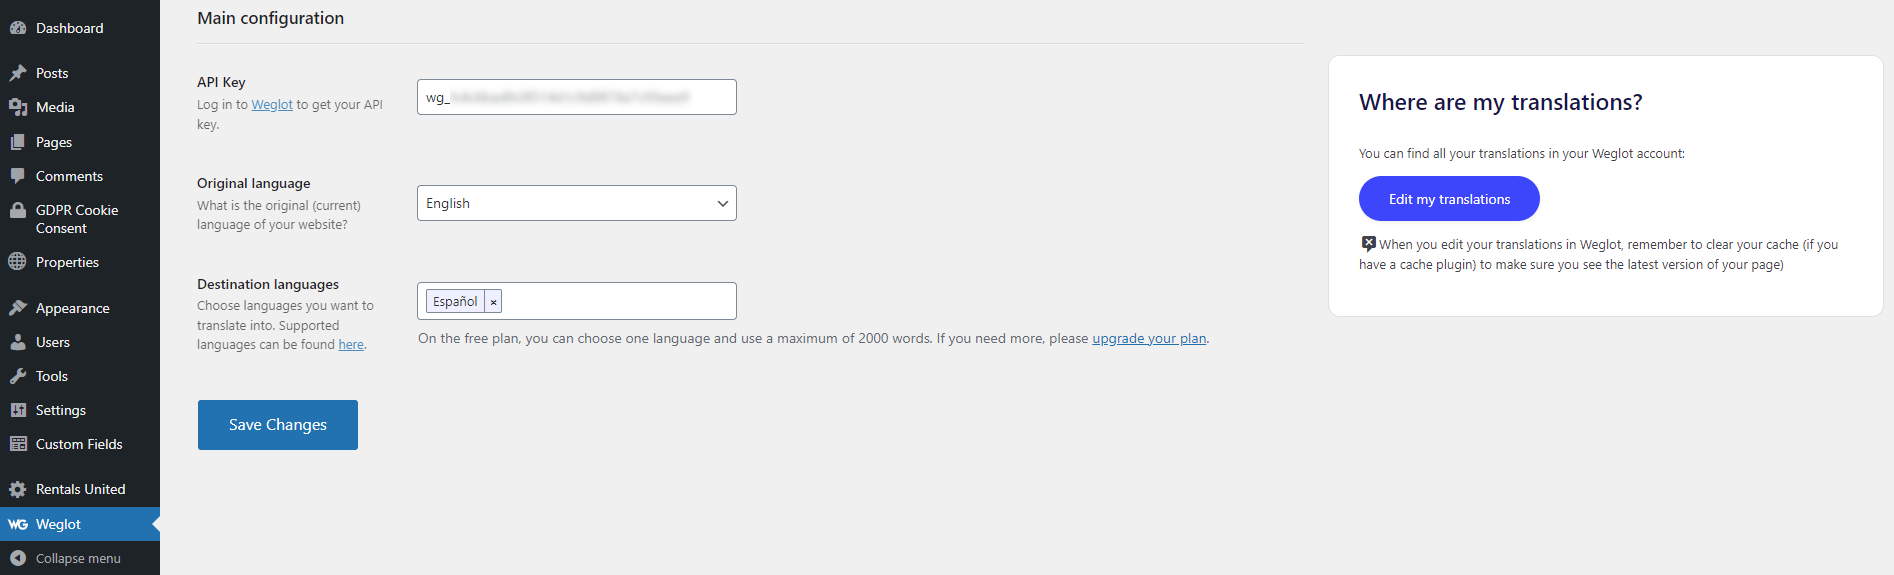
If the API key validation is successful, your content gets automatically translated in Weglot.
-
Click Save changes.
Note: By default, the language selection dropdown appears in the bottom right corner. You can view your website and check it out. Read Configure language menu to learn how to change its design and position.
Configure language menu
You are provided with many configuration options for your translation-provider app and we highly recommend to familiarize with them. Below you can find a short overview of ones that can interest you the most.
-
Go to Wordpress Admin and open the management menu.
-
Select Weglot.
-
Configure additional language options.
-
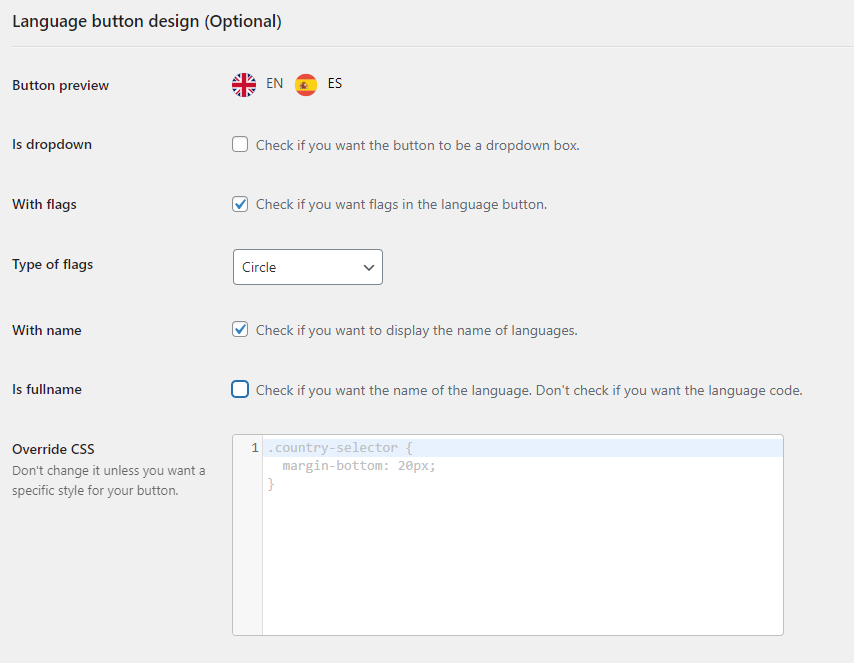
Language button design - define if your language selection should be a dropdown or nor, decide on the flag display, shape, full language name etc.
-
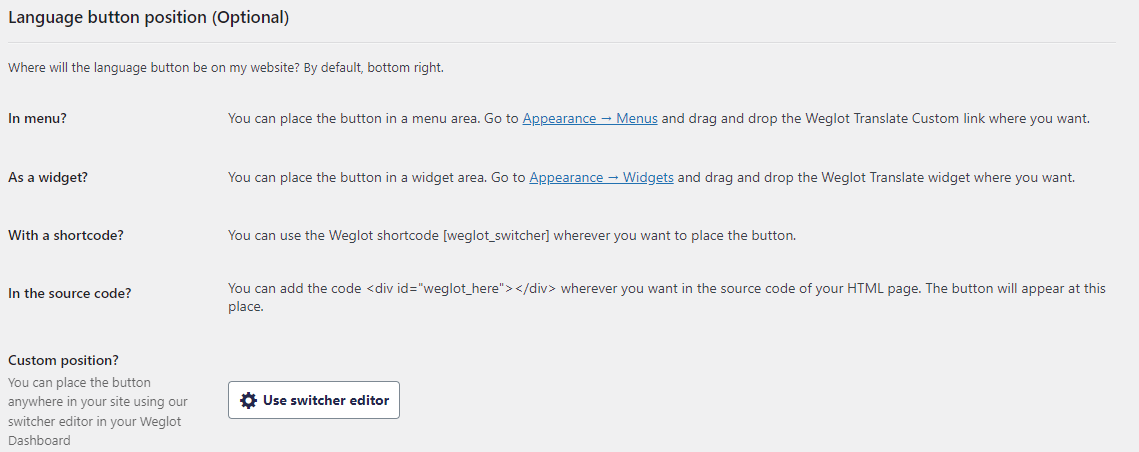
Language button position - by default, the language selection menu is placed on the bottom right corner. You can try out different positioning options. You can also use the simple Weglot visual positioning by clicking Use switcher editor. This option redirects you to Weglot dashboard and you can drag and drop the language menu in the preview of your website. You can also adjust the menu position for the mobile devices. Click Save in the Weglot dashboard.
-
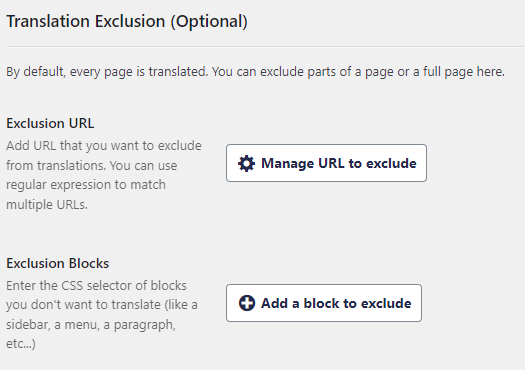
Translation exclusion - you can exclude some of the pages or CSS selectors from being translated
-
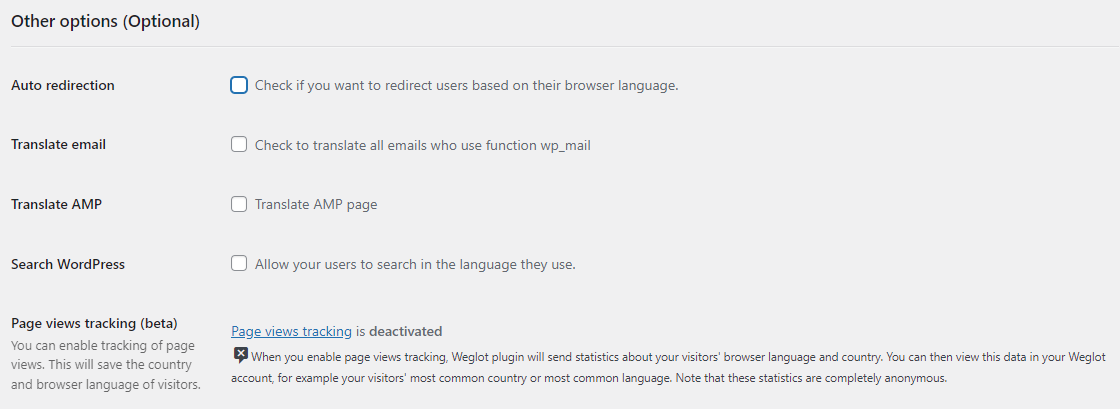
Other options - you can turn on additional options, such as auto-detection of user's language, language-use tracking and more.
-
-
Click Save changes.
Custom translate
It may sometimes happen that you do not like how the translated content looks like or you have a better translation in mind. You can easily replace the auto-translation generated by Weglot with your own.
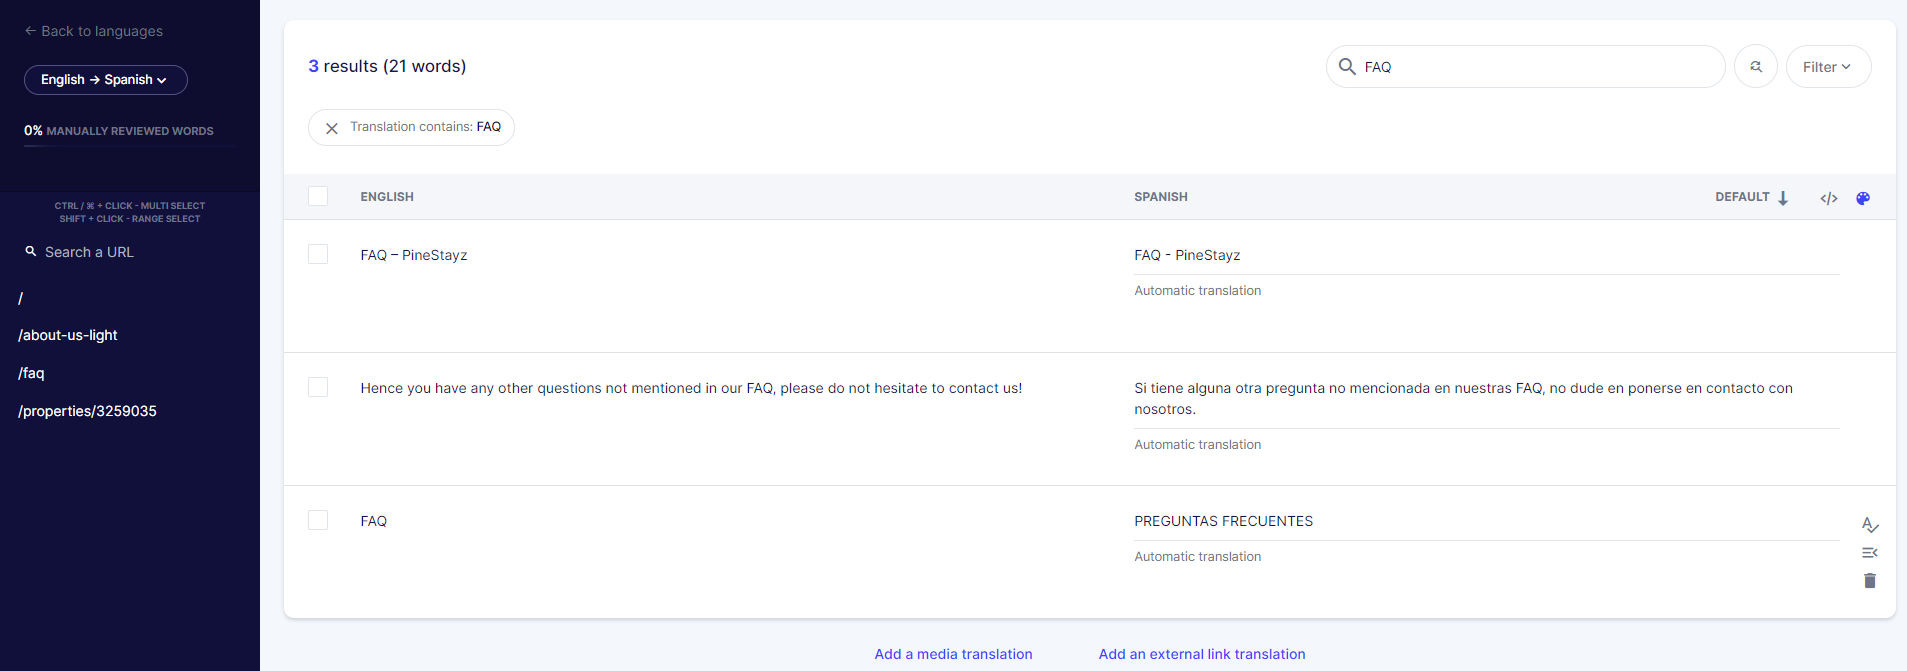
Example: Weglot translated the FAQ section to "PREGUNTAS FRECUENTES". The translation is correct, but the spelling does not really go with the rest of items in our menu. We can easily correct that.

-
Go to Wordpress Admin and open the management menu.
-
Select Weglot.
-
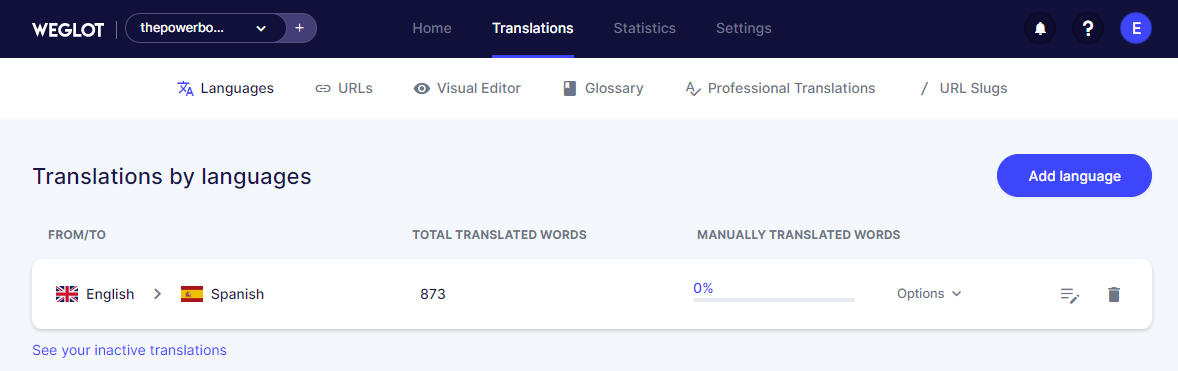
Click Edit my translations button on the right. You are redirected to the Weglot dashboard.
-
Select the language you would like to edit by clicking on the row. In our case, it is Spanish.
-
Use searchbox on the top right side to quickly find the right word. Put the keyword and hit Enter.
-
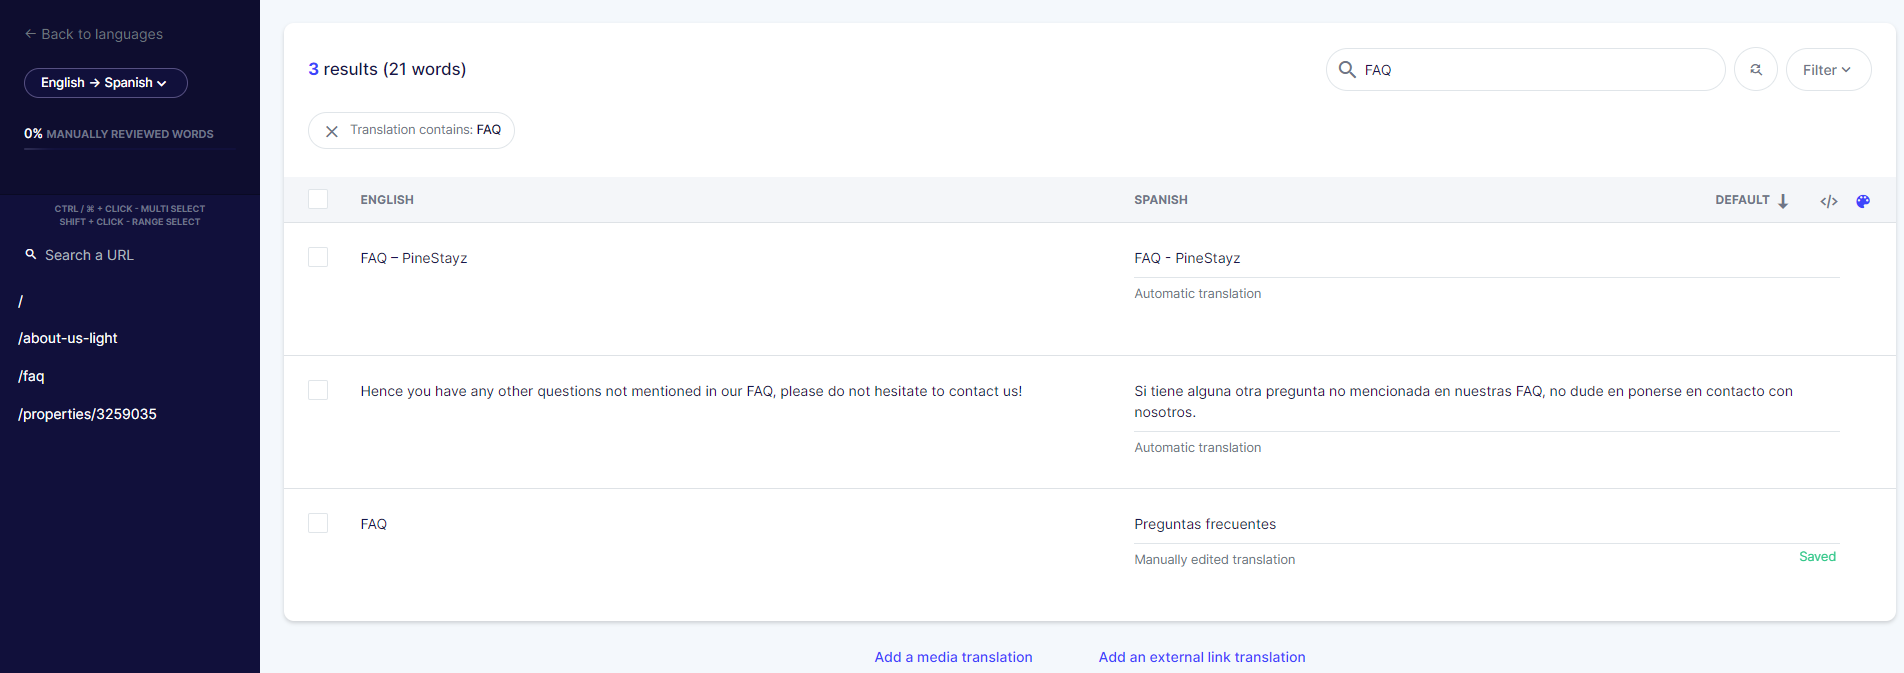
Find the phrase to edit and change the translation. Once you are done, click away from the field. A green Saved word appears.
-
Preview the changes on your website.
Note: If your changes are not visible immediately, try to clear out the cache in your browser.