Step 4: Photos
In this section you can include photos to give a better visual presentation of your property. You can add multiple photos at once or upload them one by one. The general recommendations for photos are the following:
-
Single photo size cannot be greater than 2 MB.
-
The total size of the photos uploaded at once cannot be greater than 10 MB.
-
Upload good quality photos, at least 1024 x 768 px. Some sales channels have restrictions regarding the photos resolution. For more information, see Channel Integrations.
-
Upload at least 10 photos per property for the best guest experience.
The platform prompts you when the above conditions are not met.
Adding photos
-
Click the Add Photo button.

-
A system window opens. Navigate to the folder where the property photos are kept.
There are two ways to upload photos:
-
Drag the mouse over the multiple photos.
-
Add each photo one by one.
-
-
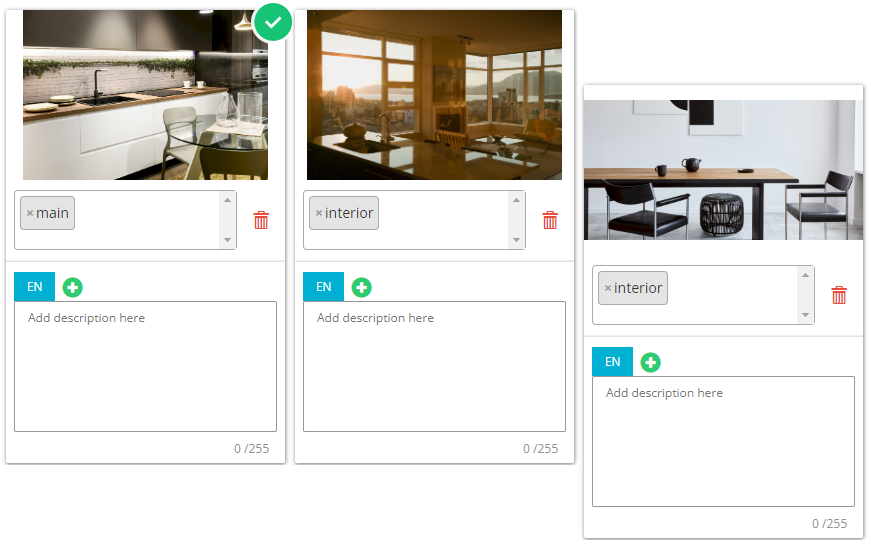
The photos are successfully uploaded.
-
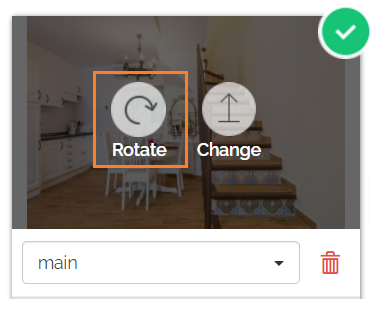
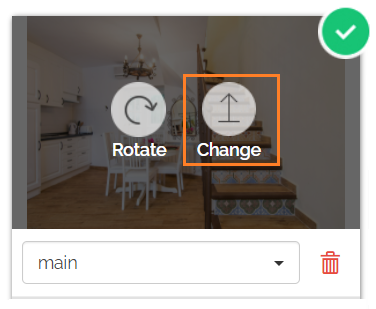
Once uploaded, manage each photo separately.
Photos' description
-
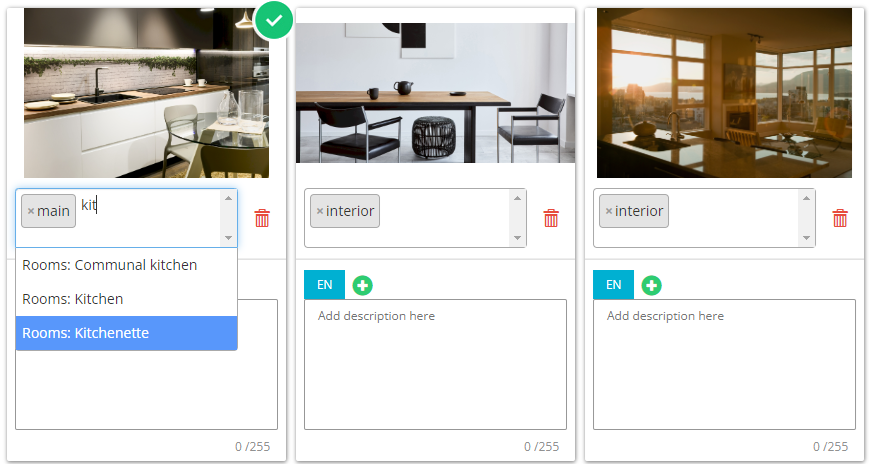
Specify the type of information presented in the photo by selecting a predefined tag from the dropdown list. You can choose multiple photo tags.
One photo needs to be tagged as main! We will try to use this photo as main whenever possible (e.g. listing cover photo). After the photo is tagged as main, a tick symbol appears next to it. If you do not mark any photo, the system will automatically mark the first photo as the main photo. -
Provide the photo descriptions.
A description in a different language can be provided. Click the
 button and select a desired language. Click the Add language button and provide the description.
 -
Upload the floorplan. Click the Add Floorplan button.

-
A system window opens. Navigate to the folder where the property floor plan is kept. The property plan tag is automatically applied. Supplement the plan with the relevant description.
-
Click the Save & Next button.


