Bulk actions
With Rentals United, you can easily avoid repetitive and time-consuming tasks, which is especially valuable when you manage a large inventory of dozens or hundreds of properties. With bulk actions, the management tasks become less frustrating and you everyday job - more effective. Bulk options differ across channels, so do not expect identical options for all channels you are connected to. Have a look below what bulk options you have and how they work.
Synchronisation actions
Fetch data from the channel
This bulk action allows you to quickly update your inventory in Rentals United with the last changes you made in the channel's extranet. Have you added or edited rate plans, room types or changed the pricing model? Fetch data from the channel and sync your inventory in Rentals United to the state from the channel. Save time on making the same changes twice (in the extranet and Rentals United) and avoid synchronisation errors.
Use this bulk action in the following cases:
-
You noticed discrepancies between Rentals United and the sales channel
-
You want to ensure that your configuration in sales channel is reflected in Rentals United
-
You made updates directly in the sales channel and you want to bring them to Rentals United
-
You receive an error when performing an update from Rentals United to the sales channel
Step by step
-
In Rentals United platform, go to the Services tab.
-
Find the sales channel in the list of services. Unfold the section and click Property Settings.
-
In the top-right corner of the page, click Bulk actions.
-
Select Fetch the data from channel from the dropdown. Click Select hotels.

-
Choose the hotels. You can read about the different ways of filtering and selecting hotels here.
-
Click Next. You will see here the summary of all selected properties. Review the list and check if all hotels are included.
-
Click Fetch to proceed. The process is running and you can see the progress bar.
-
Once the process is complete, you will see the summary of actions. Click I understand to complete.
Fetch data summary
-
If there were any changes fetched from the sales channel, you will see a detailed description in the summary of actions
-
If no changes were detected between the hotel's status in the sales channel and in Rentals United, you will see 'Nothing to display'.
-
If an error occurred during the process, you will see a detailed description of the error message.
Updating content for multiple room types
Updating content across a large portfolio is now faster and more efficient. Instead of manually editing each room, use bulk actions to select multiple room types across various properties and send those updates directly to your connected channel. This ensures your listing information remains consistent and up to date with minimal effort.
Before you start
-
Updating content for multiple room types is only available for channels that support updates at the room level (such as Booking.com, Expedia).
-
You can choose to perform a full content update or partial content update. This flexibility allows you to push only the necessary changes to your channels, such as updated descriptions, amenities, or photos.
-
Partial content options differ across the channels. You can look up what's being updated in each option here.
Step by step
Follow the steps below to update content for selected room types.
-
In Rentals United platform, go to the Services tab.
-
Find the sales channel (Expedia or Booking.com) in the list of services. Unfold the section and click Property Settings.
-
In the top-right corner of the page, click Bulk actions.
-
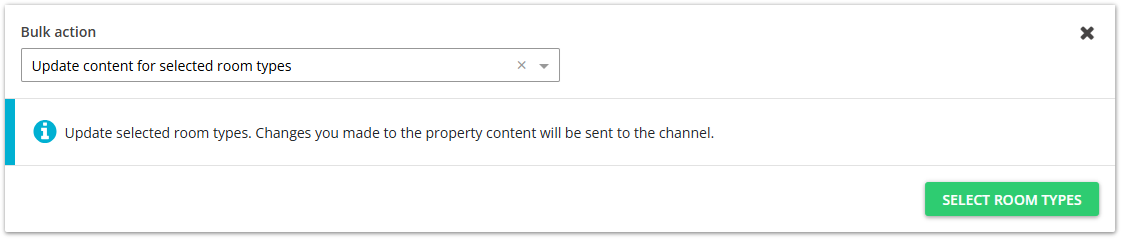
Select Update content for selected room types from the dropdown. Click Select room types.
-
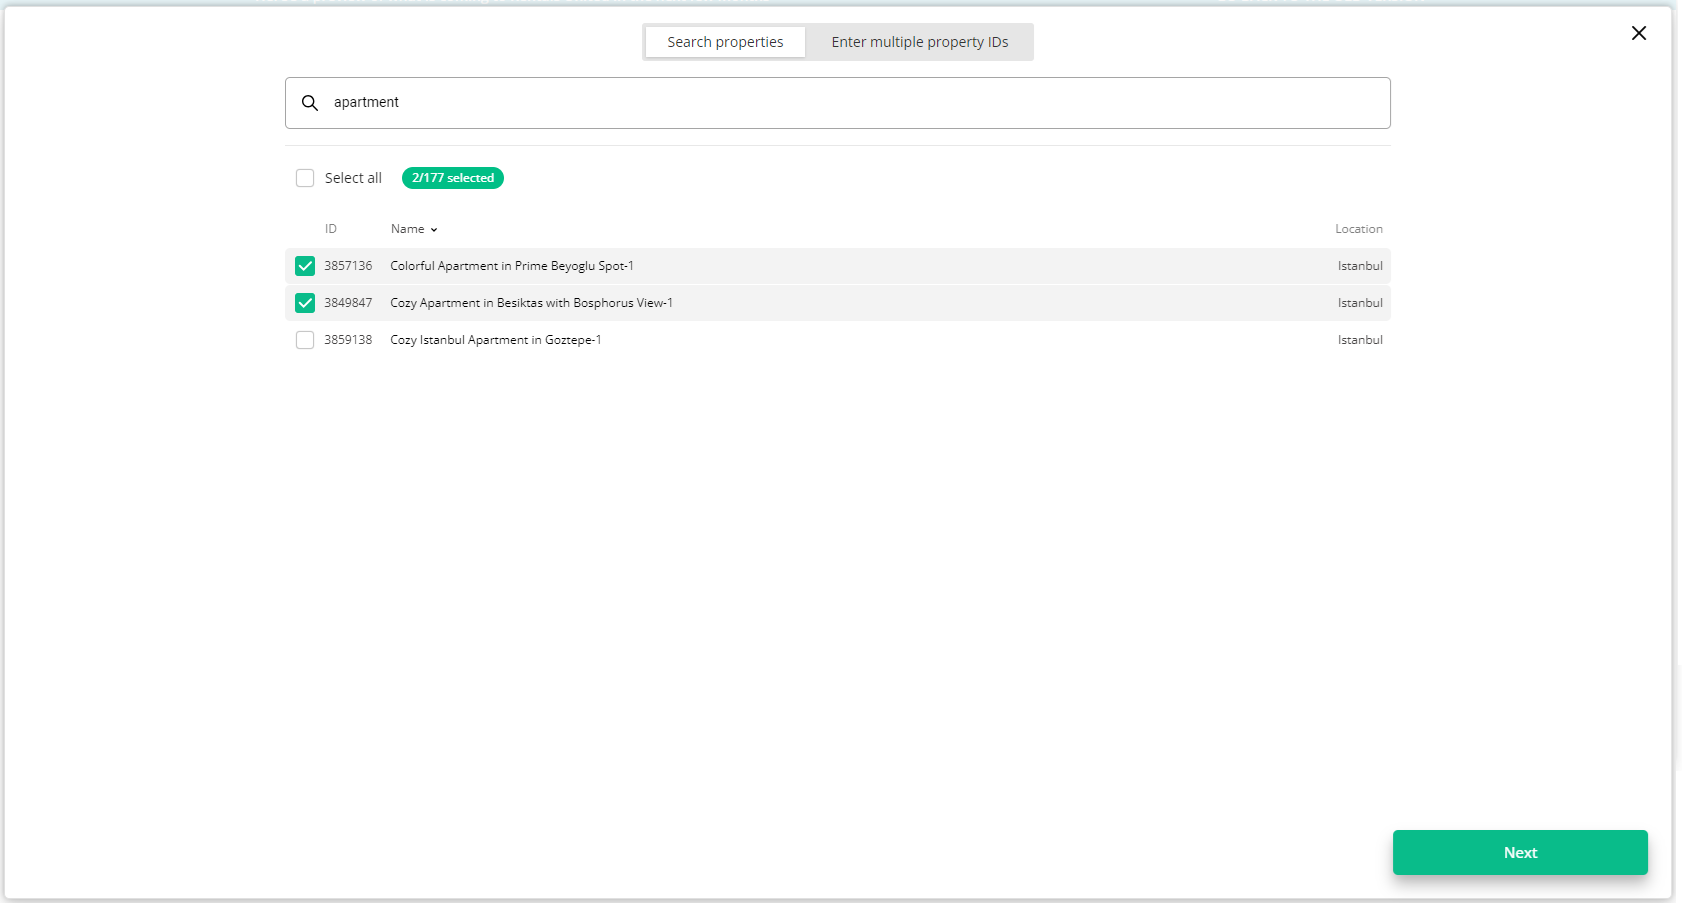
Choose the room types that you want to update. You can filter the list by room type ID, hotel name, location or other. Alternatively, click Enter multiple room type IDs to paste a list of specific property IDs. After selecting the rooms, click Continue.
-
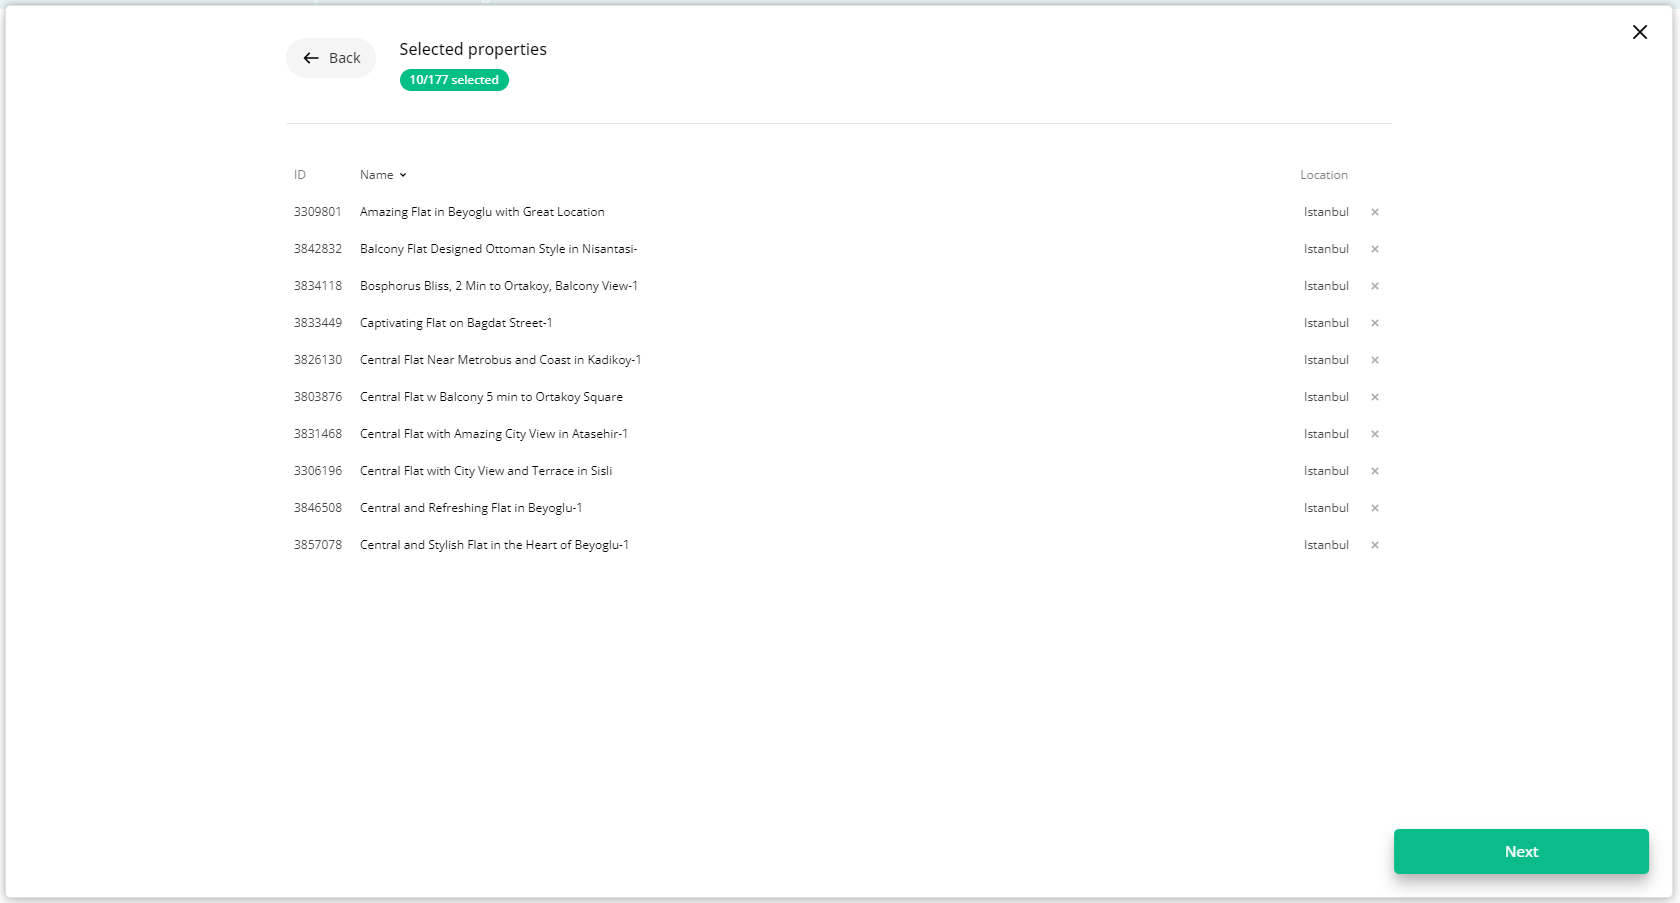
Review the list of selected room types. Click Update to continue.
-
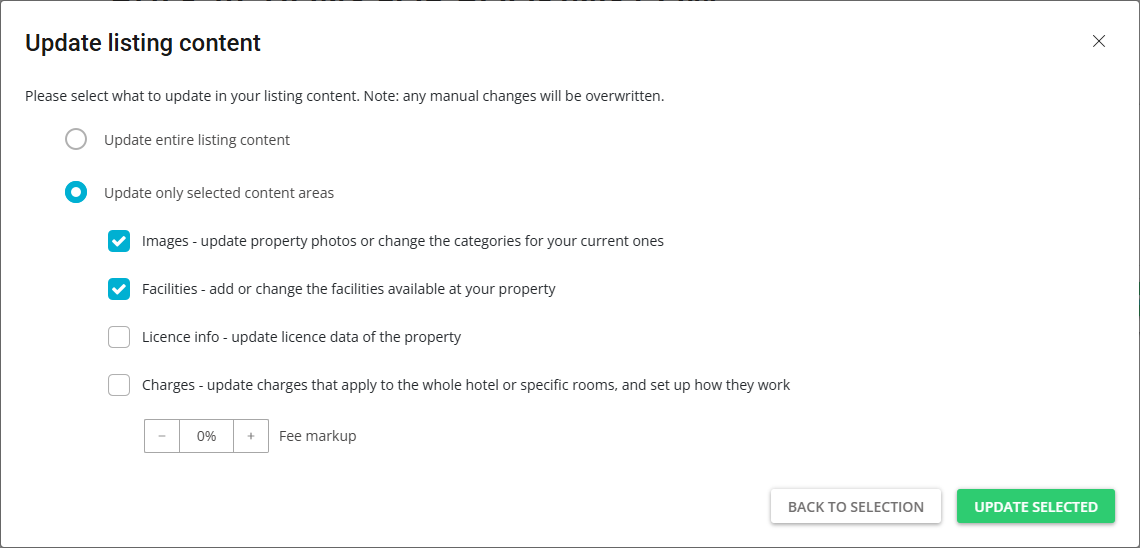
In the Update listing content section, select whether you want to update the entire listing content or specific content parts. If you choose Update only selected content areas option, select which content parts you want to update. Click Update selected.
-
Monitor the progress bar as the content is sent to the channel.
Once finished, the content is updated in the channel. Review the summary page to see the success or failure details for each room type. Click Copy details ![]() if you need to save the summary for your records.
if you need to save the summary for your records.
Mark-up actions
Update mark-up for selected properties or rate plans
Price mark-up serves to modify the pricing per channel. With this option, prices in Sales Channel will be increased or decreased for selected rate plans or properties.
-
Sales channels that offer advanced rate plans management allow for setting the mark-up for selected rate plans. These channels currently include all HRS channels (hotel set-up channels such as Booking.com, Expedia or Agoda). Check the procedure below to update mark-up for selected rate plans.
-
Other channels which do not offer rate plan management allow for setting the mark-up for selected properties.
To read more about the mark-up use, see here.
Step by step
-
In Rentals United platform, go to the Services tab.
-
Find the sales channel in the list of services. Unfold the section and click Property Settings.
-
In the top-right corner of the page, click Bulk actions.
-
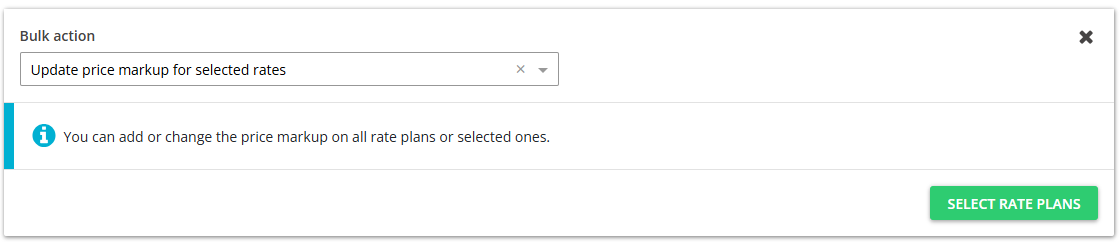
Select Update price mark-up for selected rates option from the dropdown. Click Select rate plans.
-
Select the rate plans that you wish to update. You can select individual rate plans or all rate plans at once. Click Continue.
-
You will see the summary of selected rate plans. Check if the list includes all the rate plans you wish to update. Click Continue.
-
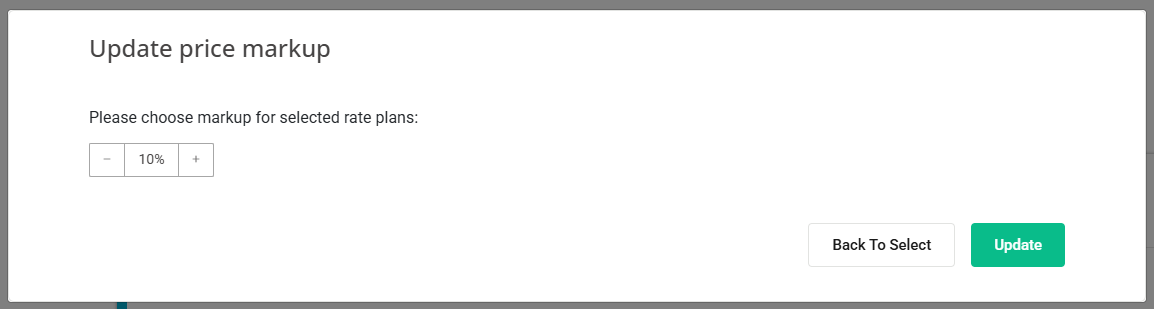
Set the new mark-up value and click Update. The mark-up value can be positive, negative or 0%. The previous mark-up value for selected rate plans will be replaced with the new value.
-
The process is running and you can see the progress bar.
-
Once the process is finalised, you will see the summary of actions. Click I understand to complete.
The mark-up change has been completed. The mark-up value will be updated in the channel as soon as possible. In case of some channels (e.g. Altovita, Cuddlynest) the update may take little longer to reflect.
Update fee mark-up for all properties
With this option, fees in Sales Channel will be increased or decreased for all properties.
-
In Rentals United platform, go to the Services tab.
-
Find the sales channel in the list of services. Unfold the section and click Property Settings.
-
In the top-right corner of the page, click Bulk actions.
-
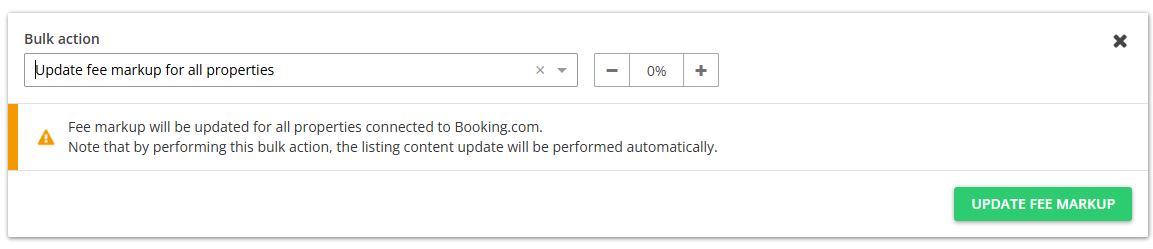
Select Update fee markup option from the dropdown.
-
Set the new mark-up value and click Update fee mark-up.
-
Confirm the action by clicking Update fee mark-up.
-
The process is running and you can see the progress bar.

Connection actions
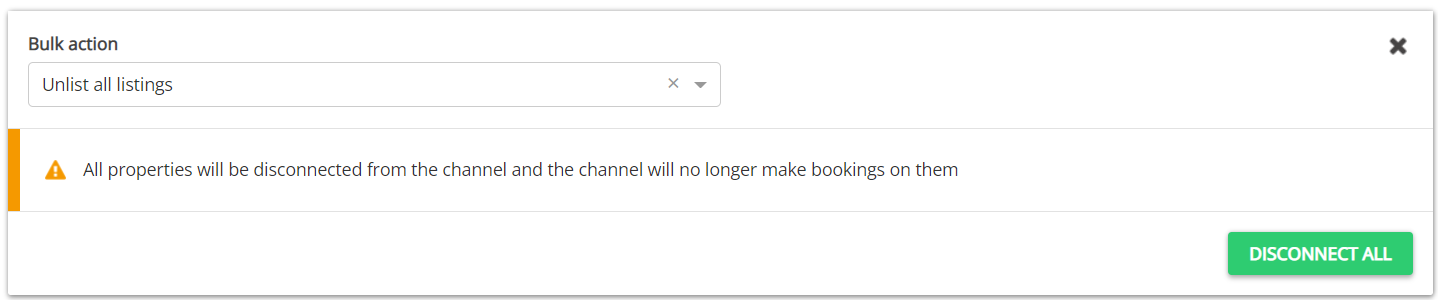
Unlist all listings
Sales Channel will no longer have access to the properties and will not be able to place bookings on them.
-
In Rentals United platform, go to the Services tab.
-
Find the sales channel in the list of services. Unfold the section and click Property Settings.
-
In the top-right corner of the page, click Bulk actions.
-
Select Unlist all listings. Click the Disconnect all button.
-
A dialogue window is displayed. Confirm your action.
-
The process is running and you can see the progress bar.
Connect all disconnected properties
By this action, Sales Channel will be able to place bookings on your properties.
-
In Rentals United platform, go to the Services tab.
-
Find the sales channel in the list of services. Unfold the section and click Property Settings.
-
In the top-right corner of the page, click Bulk actions.
-
Select Connect all disconnected properties. Click the Connect all button.

-
A dialogue window is displayed. Confirm your action.
-
The process is running and you can see the progress bar.
Disconnect all connected properties
Sales Channel will no longer have access to the properties and will not be able to place bookings on them.
-
In Rentals United platform, go to the Services tab.
-
Find the sales channel in the list of services. Unfold the section and click Property Settings.
-
In the top-right corner of the page, click Bulk actions.
-
Select Disconnect all connected properties. Click the Disconnect all button.
-
A dialogue window is displayed. Confirm your action.
-
The process is running and you can see the progress bar.
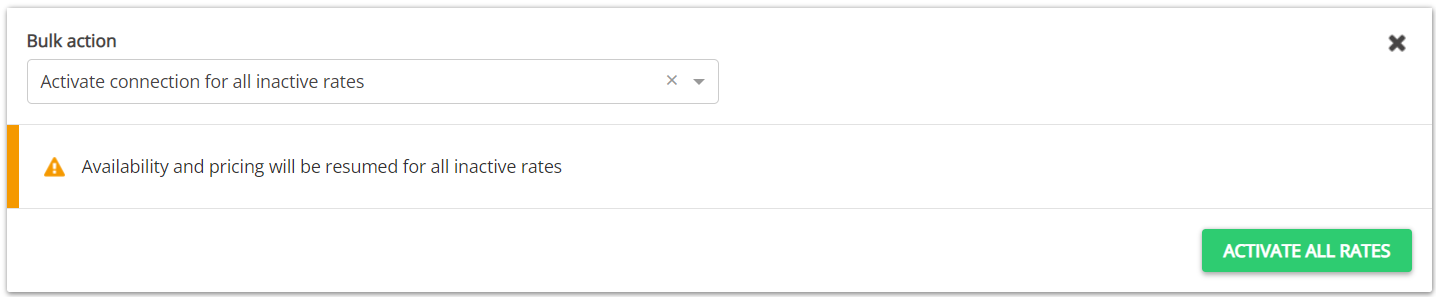
Activate connection for all inactive rates
You are about to start sending availability and prices for all your rates connected to Sales Channel. Your properties will become open and bookable on Sales Channel.
-
In Rentals United platform, go to the Services tab.
-
Find the sales channel in the list of services. Unfold the section and click Property Settings.
-
In the top-right corner of the page, click Bulk actions.
-
Select Activate connection for all inactive rates from the dropdown. Click the Activate all rates button.
-
A dialogue window is displayed. Confirm your action.
-
The process is running and you can see the progress bar.
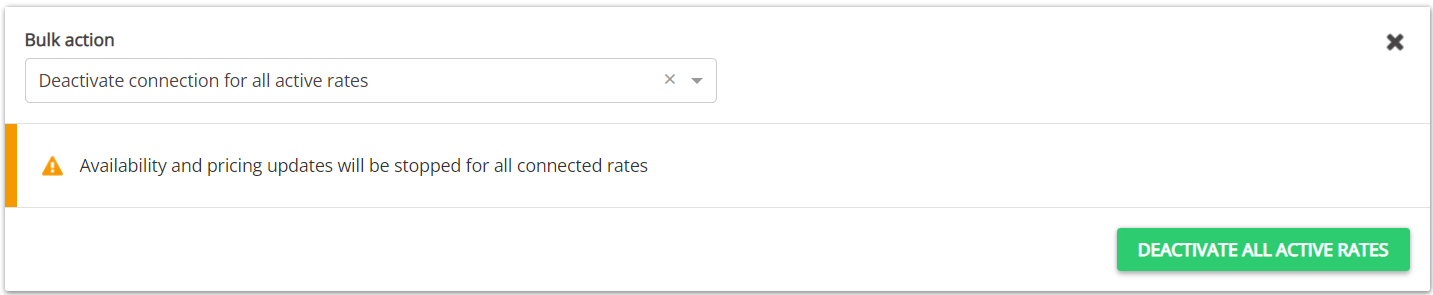
Deactivate connection for all active rates
-
In Rentals United platform, go to the Services tab.
-
Find the sales channel in the list of services. Unfold the section and click Property Settings.
-
In the top-right corner of the page, click Bulk actions.
-
Select Deactivate connection for all active rates from the dropdown. Click the Deactivate all rates button.
-
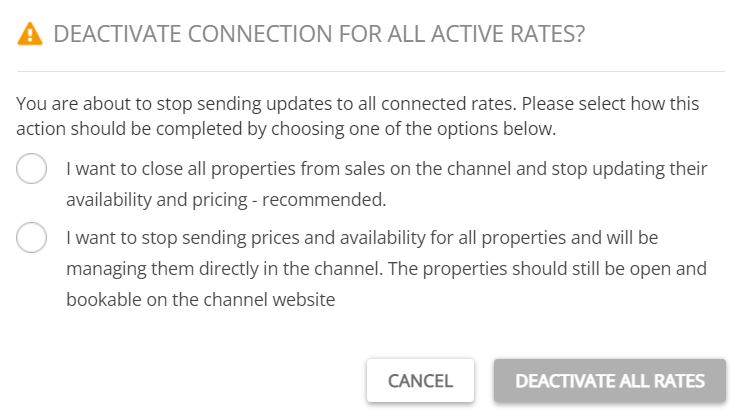
A dialogue window is displayed. Select what you wish to do and confirm your action.
-
stop updating properties' availability and pricing, hence stop renting - you will receive no more bookings (recommended)
-
stop updating properties' availability, but do not stop renting - bookings will be still received, but may be made with outdated price and cause overbookings (this option should be used primarily when you decide to manage your rates for Sales Channel directly from its dashboard)
-
-
The process is running and you can see the progress bar.
Rate plan actions
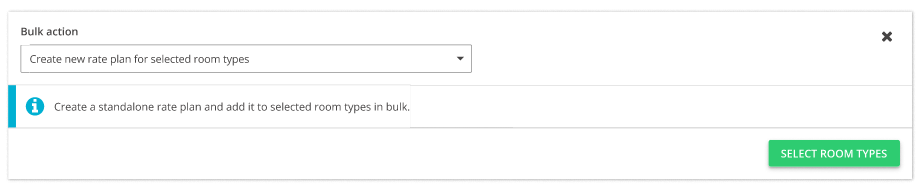
Create new rate plan for selected room types
This bulk action allows you to create a new rate plan and add it to the selected room typess. Use it when you create a new offer and want to add it to all or multiple room types across all hotels at once!
-
Time efficiency - save time and add new rate plans to all room types at once, within seconds
-
Quickly meet your guests needs - introduce new offers faster and without unnecessary delay
-
Improve quality and avoid errors - create one rate plan and add it to selected rate plans at once, without the need to copy the details and risk of making mistakes
Before you start
-
Bear in mind that creating a new rate plan through the bulk actions functionality allows you to create standalone rate plans only. If you want to create other rate plans (e.g. derived), you need to create new rate plans one by one.
-
In Rentals United platform, go to the Services tab.
-
Find the sales channel in the list of services. Unfold the section and click Property Settings.
-
In the top-right corner of the page, click Bulk actions.
-
Select Create new rate plan for selected room types from the dropdown. Click Select room types.
-
Choose the room types. You can read about the different ways of filtering and selecting room types here.
-
Click Next. You will see here the summary of all selected room types. Review the list and check if all room types are included.
-
Click Next to proceed.
-
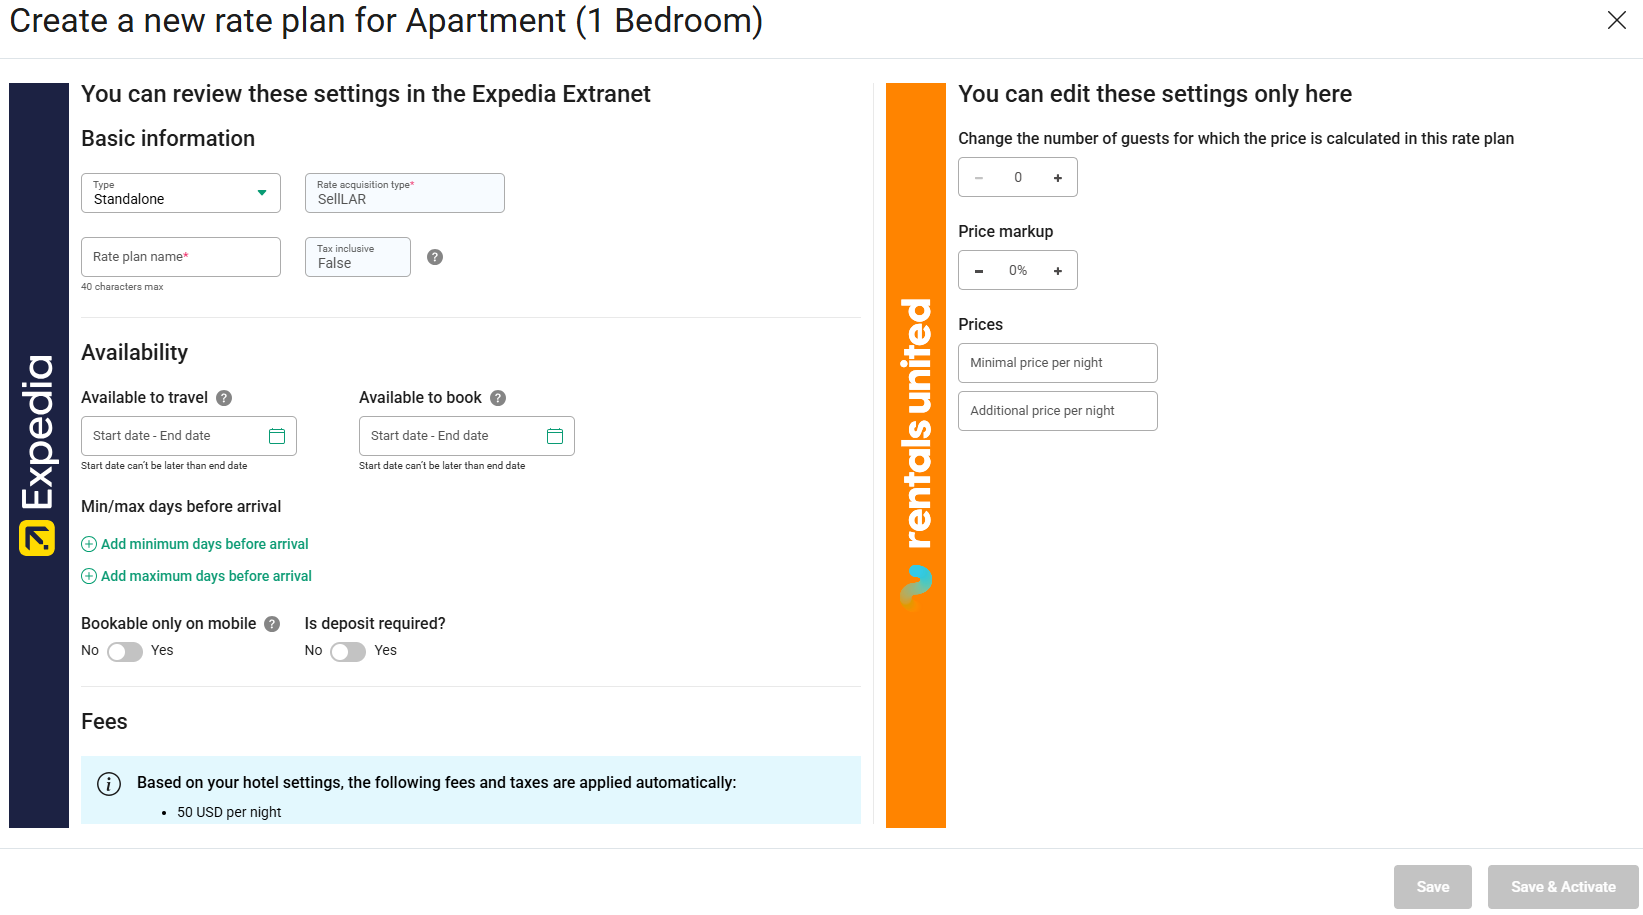
Create a new rate plan by filling out the details.
In case of Expedia, some fields may be greyed out if they have different values across the selected room types (e.g. different currency across rooms). After these rate plans are successfully created and you want to edit this particular information, you will need to edit those rate plans in each room one by one. -
Add the rate plan to the room types. Click Create (to add the rate plan without activating it) or Create and Activate.
-
Once the process is finalised, you will see the summary of actions. Click I understand to complete adding the new rate plan to the room types.
Bulk actions summary
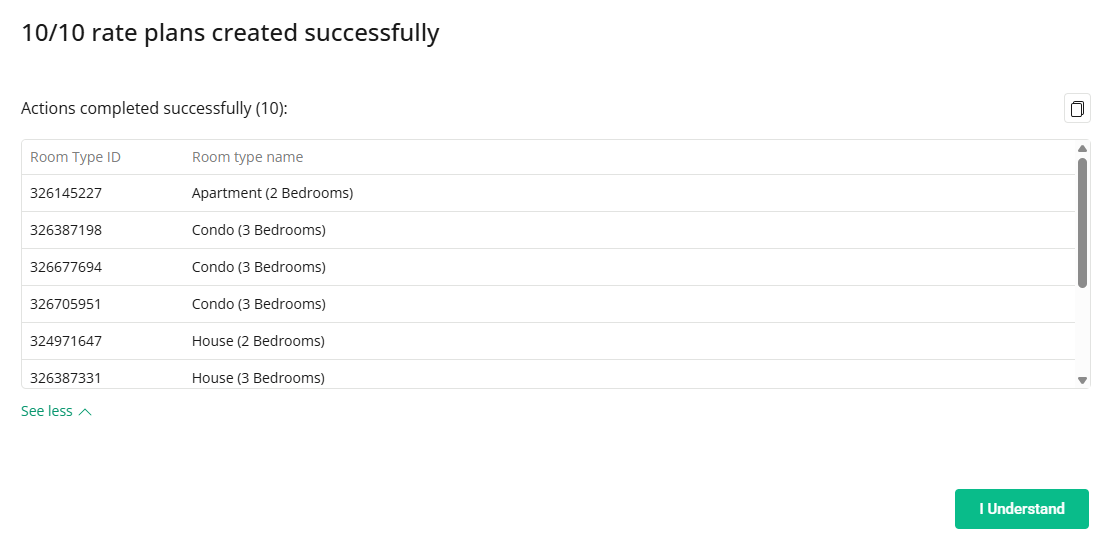
Once you finish adding new rates plans to the room types, you can see the summary of actions. You can see an exemplary summary below:
-
Number of rate plans created successfully - informs you whether the new rate was added to all selected room types or not. If not all rate plans were added, you can check the details in 'Actions failed'.
-
Actions completed successfully - gives you detailed information on the room types which have the new rate plan added. You can click the 'Copy' button and verify if the new rate plan is available in these room types.
-
Actions failed - gives you detailed information on the room types which received an error. You can read more about the error and fix it. In this case, the error did not prevent the creation of the rate plan. If some errors prevent it, you will be able to tell this by looking at the 'Number of rate plans created successfully'. You can copy the room types IDs that failed by clicking the 'Copy' button, save them for later and try adding the new rate plan to them in bulk again.
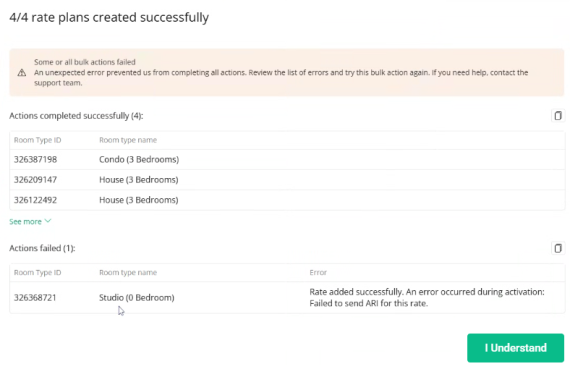
If the Back button is visible, this button allows you to go back and fix the indicated errors. Follow the instructions in the error message. If it is not visible, it means the errors are minor and do not prevent the rate plan from being created. In this case, you can proceed by clicking the I understand button. The new rate plans will be added to the room types.